
10 Photography Tips For Better Travel Photos With Your iPhone
Do you ever look through your social media feeds and wonder how people take such great photos when they travel? Do you wonder if it was taken with some fancy DSLR camera equipment or if it was taken on a phone? And if it was taken on a phone do you wonder how the photos are so clean and bright? Well, if it's a yes to any of those questions, then you're in the right spot and the next 10 travel photo taking tips will crack the code on these covetable images. But before you dive into the juicy secrets, note that many photos posted on social media, especially Instagram, are taken with high-quality cameras and equipment and they will always out power photos taken on a smartphone. So, don't suffer from the dreaded 'comparisonitis' as you learn and grow and take it from one level to the next. Enjoy the ride!
10 Tips for taking better travel photos with your iPhone
1. Clean your lens

Happy moment in Namibia ruined by finger smudge
This may be the silliest thing you've ever read as a tip for better photography, but there are so many times phones are picked up, the lens gets accidentally swiped by a finger and one forget to wipe the smudges off before snapping a photo. These photos tend to come out cloudy or blurry and the shooter doesn't realize it until looking back at the images later when she wants to post. Carry a lens safe wipe and before any photo taking commences, wipe that puppy clean.
2. Get to know your camera settings
There are a number of options in the iPhone camera settings that will allow you to have a better understanding and guide when taking any kind of photos. It takes just a few minutes to explore what the settings include and having the better understanding will help you feel just that much more comfortable with what you are looking at when you shoot. The following are some adjustments to make in your setting:

3. Keep HDR in auto mode (turn it on)

HDR stands for High Dynamic Range and it blends the best aspects of three different exposures into a single photo. You are also able to keep the normal photo you take if you're making adjustments to the screen when you snap the pic, but if you want to edit the photo after it's been taken, the HDR photo is going to be your best version to modify.
4. Turn on the Grid

Do you ever wonder why the grid shows 2 vertical lines and 2 horizontal lines in the camera view? This is because it's helping you set up for the rule of thirds. The rule of thirds is a photography technique that has the photographer align the subject to intersect with the lines or specifically fall in one of the three divided planes of the photo. All photos don't need to be taken with this rule in mind, as you may want to simply center a subject for a different effect. But placing the subject at the intersection of the lines can add more interesting tones to an image.
5. Avoid using the flash
Turning the flash on and off isn't in settings, but actually in the camera app. Your best bet is to take the photo with the best natural light or add more lighting to the subject. There are a number of variables that could turn for the worse when using a flash, so best to avoid altogether.
6. Don't shoot with a filter

What is cute about red sand dunes in Namibia? ugh
There might be some default filters in the iPhone (or camera) that you love and gravitate toward, but your style or preference may change down the road and you can't take it back. It's best to take your photo filter free and add it later. You can always duplicate the image and add the filter to it after.
7. Turn Live Photos on or off

live photo looped
Live photos are essentially mini videos and now the iPhone models allow you to edit the Live Photo in a variety of ways. If you want to have the opportunity to turn it into a gif more easily, turn on Live Photos, consider the subject and it's movement when you take the photo.
8. Never zoom

original photo - no zoom

zoomed in and cropped
This may seem counter-intuitive, but because the iPhone camera isn't optimized for a zoom it destroys the quality of the image the closer the zoom gets to the subject. Instead, consider two choices. 1 - get much closer to the subject. It has the potential to create a more interesting image. or 2 - take the photo as is and then zoom in later and crop. Photographing this way retains the integrity of the image and makes for both a cooler and more impressive shot.
9. Avoid using the selfie camera

selfie in the Okavango Delta, Botswana with a shadow over my face
Unless you're obsessed with taking selfies, shooting any further than a short arm's length away doesn't make for quality images with the front lens. You may want to turn the selfie camera on to shoot yourself and see yourself in the photo while it snaps, but it won't come out the way you hope. You're better off setting the camera on a tripod and photographing yourself with the timer. The lens on the front of the camera isn't as good as the one on the back.
10. Take action shots in burst mode
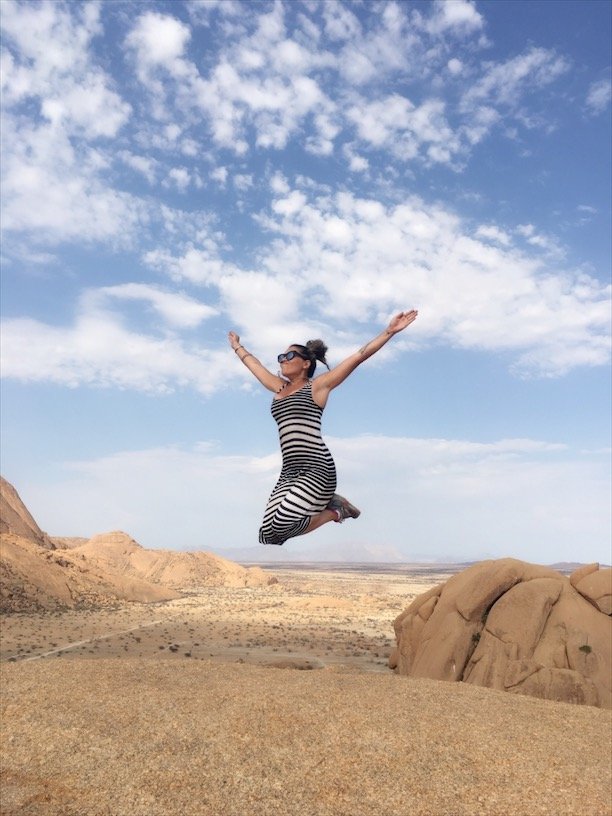
How fun to be so high in the sky?!
Burst mode is often overlooked! There's no need for you to guess when it's the right timing to take the shot and there's often a delay. Hold down the shutter button and shoot away. You can go back and pick the photo with the best quality and edit from there.
BONUS!
11. Consider the aesthetic you are going for before you take the shot

Did that menu really need to be there? Or that elbow? This dinner in South Africa was delicious though!
For example, if the photo is to go up on your Instagram feed, does this type of shot match what you're going for? In addition, is there anything in view through the lens that you will dread later? For example, is someone else's bag or foot or object in the photo? Did someone leave their napkin in the flatlay? Is your room a mess? The tighter and cleaner the content for the image when you take the picture, the more beautiful it will be when you go to post it.
Enjoy these 11 travel photo tips and as always, send in notes from your experience!
Happy snapping and bon voyage!
xo,
Taryn
Ready to start editing your iPhone photos? Here's a post with suggestions for editing apps.